
Transforming a Japanese Room’s Fusuma into a Western Style (September 2020)
※Although it is now September 2024, I will be reflecting on the past home renovations for a while.
My First DIY Project!
I’m not a fan of Japanese elements in interior design. I absolutely love overseas styles instead.
That’s why, when I bought a regular second-hand apartment, the first thing I wanted to remove was the Japanese-style room.
At that time, I planned to hire a contractor to remodel the Japanese-style room later on. (But in the end, I got hooked on DIY and we did it ourselves!
I feel like, when it comes to renovations, it’s better to live in the space first to get a sense of your preferences and how you actually use the space. You can get a clearer idea of what needs changing. (Though moving furniture around is definitely a hassle!)
Back to the topic, we started by changing the entrance area of the Japanese-style room, starting with the door.
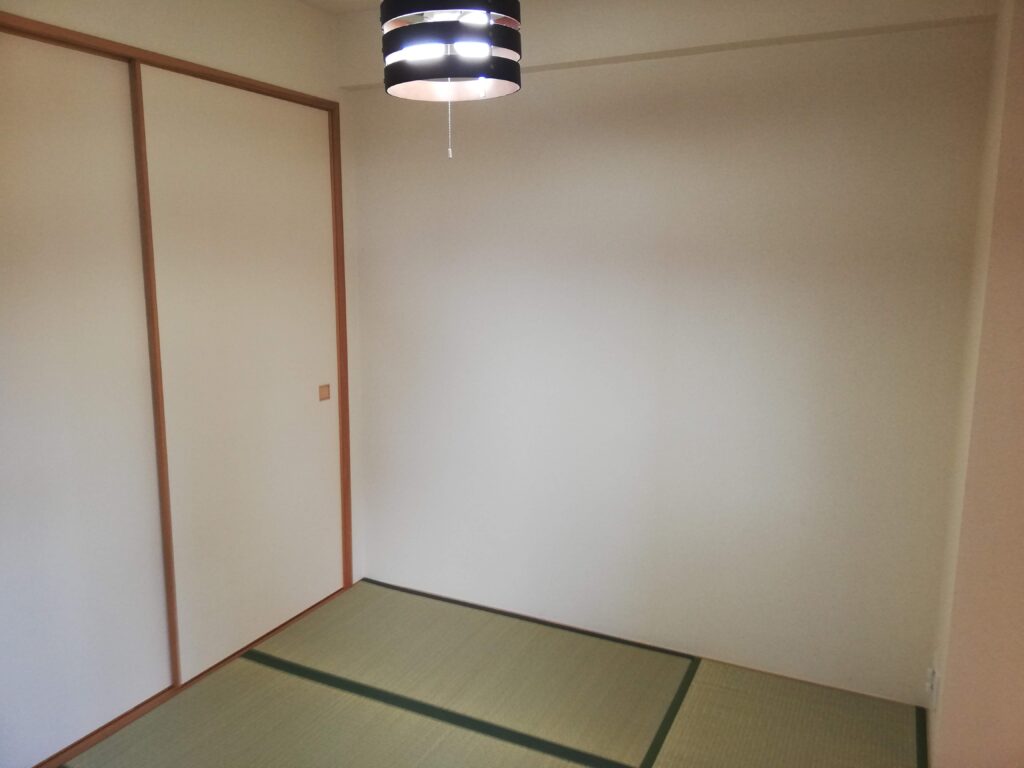
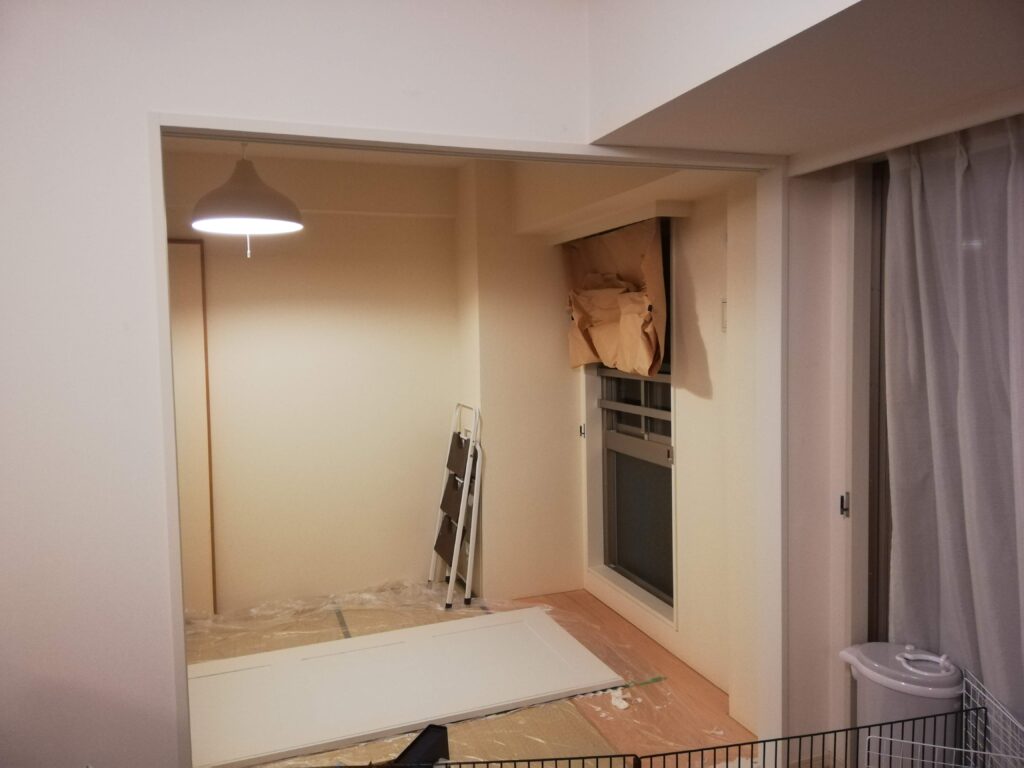
The original entrance to the Japanese-style room looked like thisーjust a standard door, Since the apartment was built in 2011, it doesn’t feel outdated or anything.
At this point, I wanted to keep the lattice part of the sliding-door as part of the style,
so I removed Fusuma paper for now.
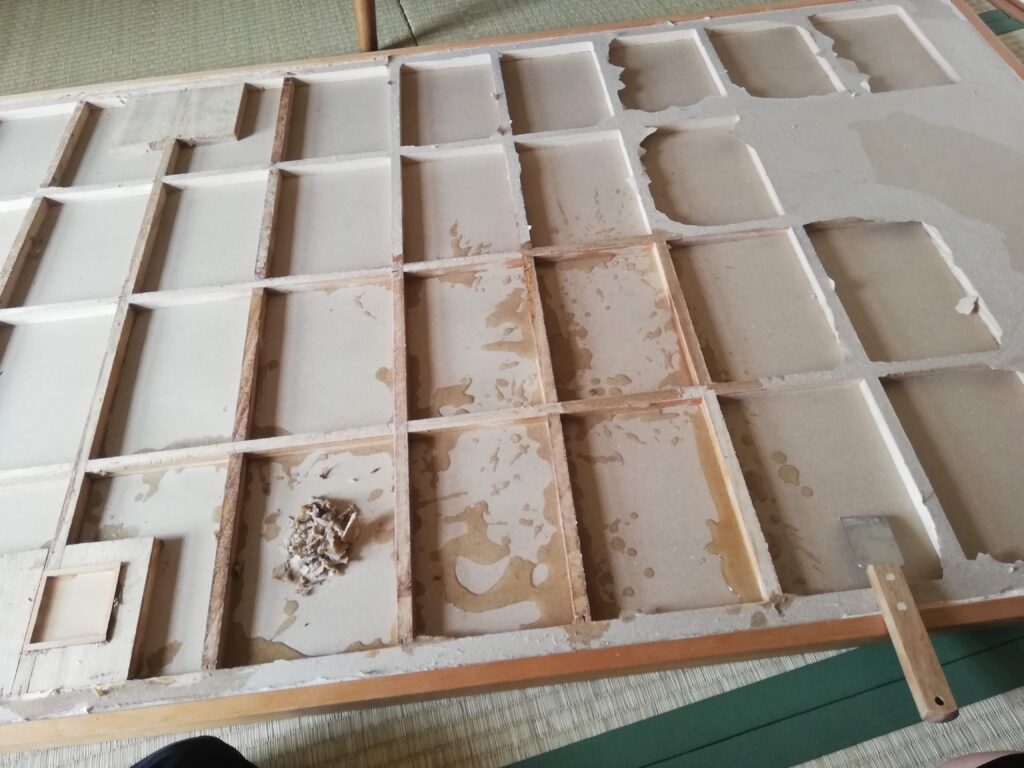
It was too much of a hassle.
I used sticker removers, hot water, and spent several days working on it, but eventually, I realized that it wouldn’t turn out to be the lattice door I had imagined.
The fineness lattice grid is clearly Japanese-style…
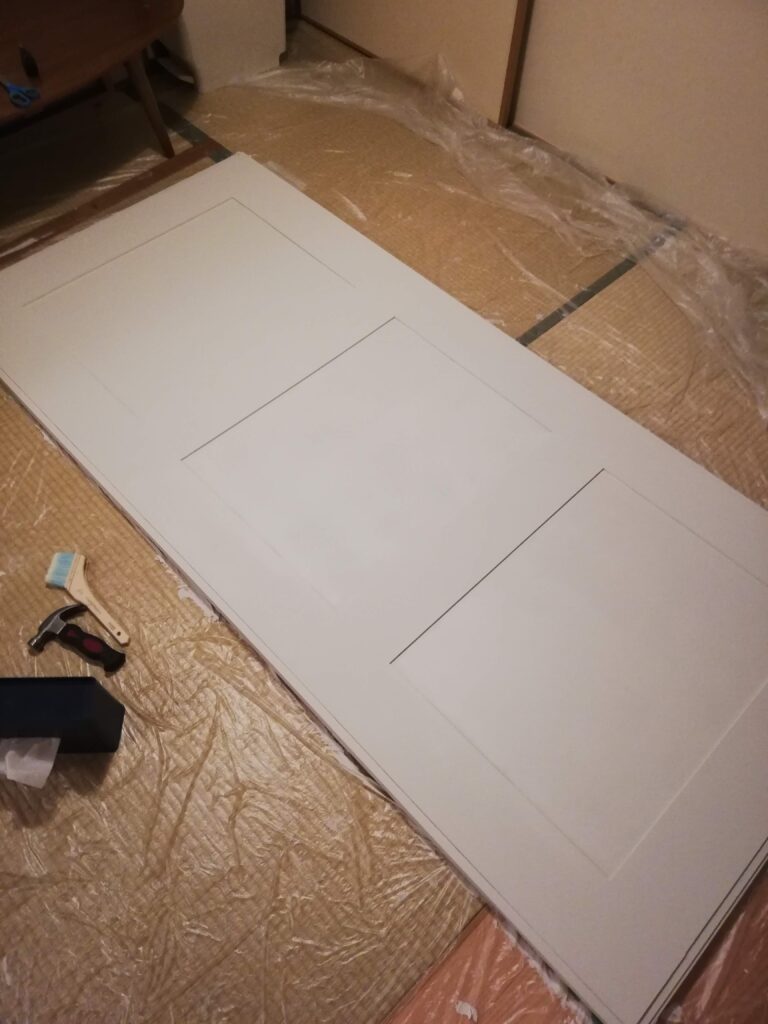
Change of plans. I’ve decided to go with the shaker style, which is commonly seen overseas.
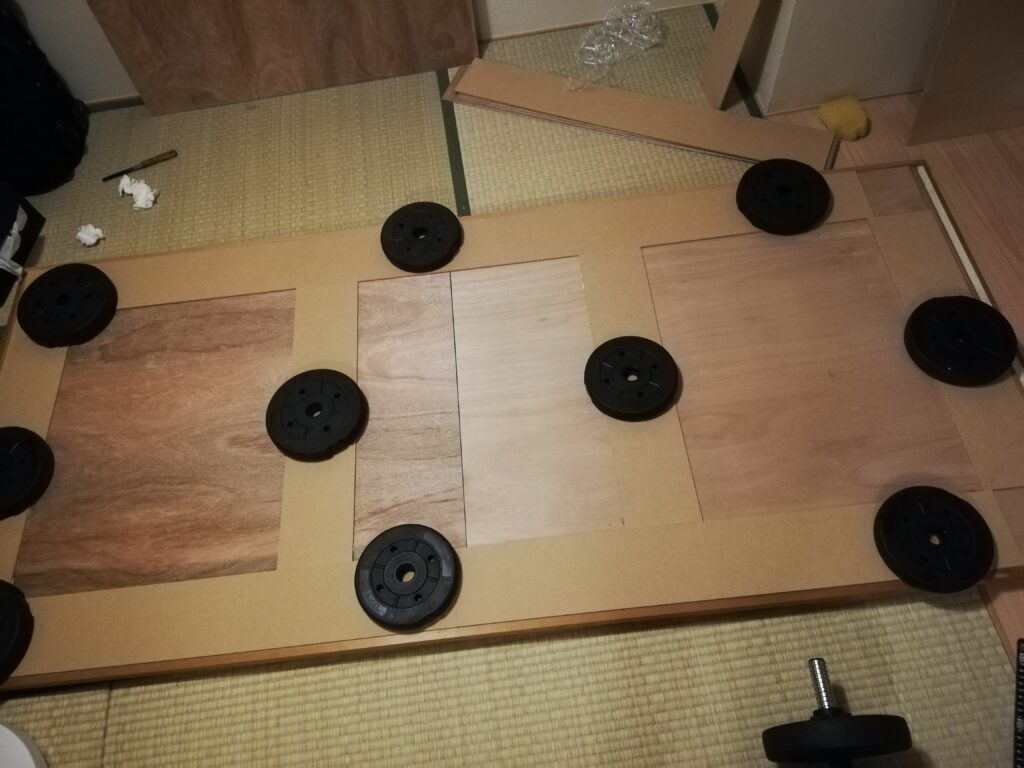
I applied plywood(although I’m not sure what kind of board it is.),I applied MDF, and pressed it down with weights.
I couldn’t help but think… Seriously, is this fine?
Next up is painting.
I start with a wood sealer, then apply two coats of water-based paint.
I used a water-based paint in Natural White, designed for interior use. I’m pretty sure it was from CAINZ.
It didn’t have a strong smell and was easy to apply, but it did splatter quite a bit—maybe because it’s pretty watery. Still, it’s budget-friendly and I’d recommend it.
The next step was painting the door frame.

Same as before, I used a sealer first, followed by two coats of paint.
Since it’s a wooden frame, proper sanding is ideal—but honestly, when I’m feeling lazy, I sometimes just rely on the sealer. The surface doesn’t feel super smooth, but it usually looks fine visually.
Painting’s done—and just that made a huge difference! I was so pumped!
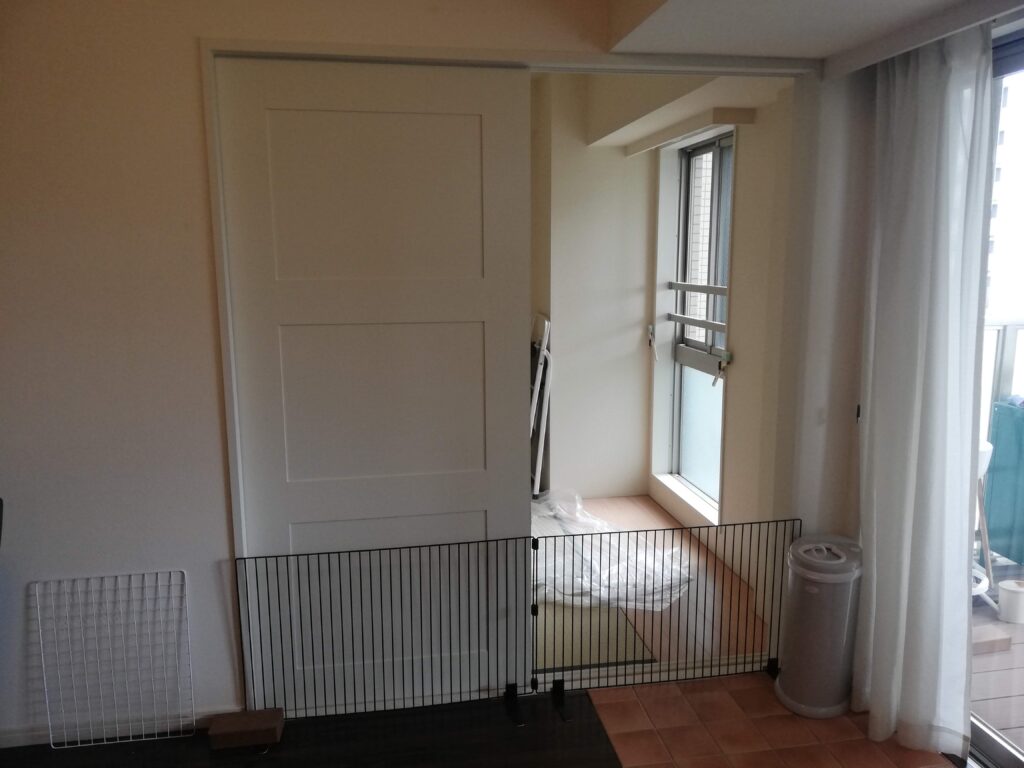
And it’s done!
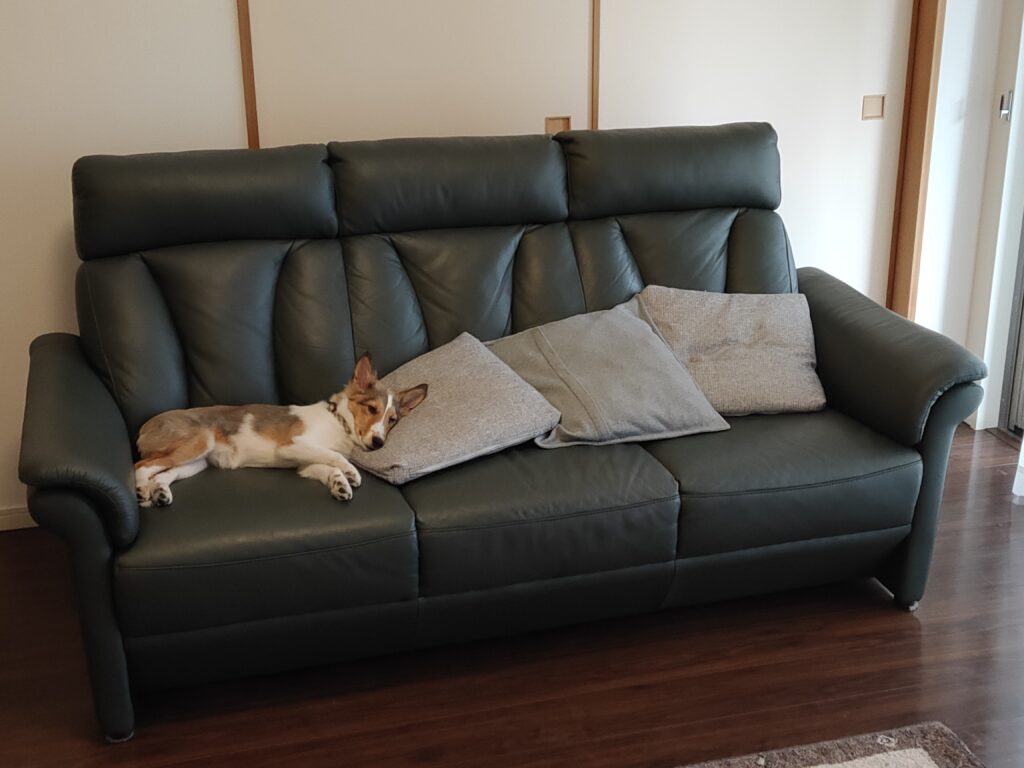
We had fences like this all over the place—our puppy was constantly getting into trouble!
Wondering why there’s only one door? Good question!
That’s right—because I chose a shaker-style design, the doors ended up thicker than expected and couldn’t overlap.
So the entrance to the Japanese-style room became a “half-open” style. But honestly, I kind of liked it that way!
This was my very first DIY project, and it taught me one thing—planning really matters!